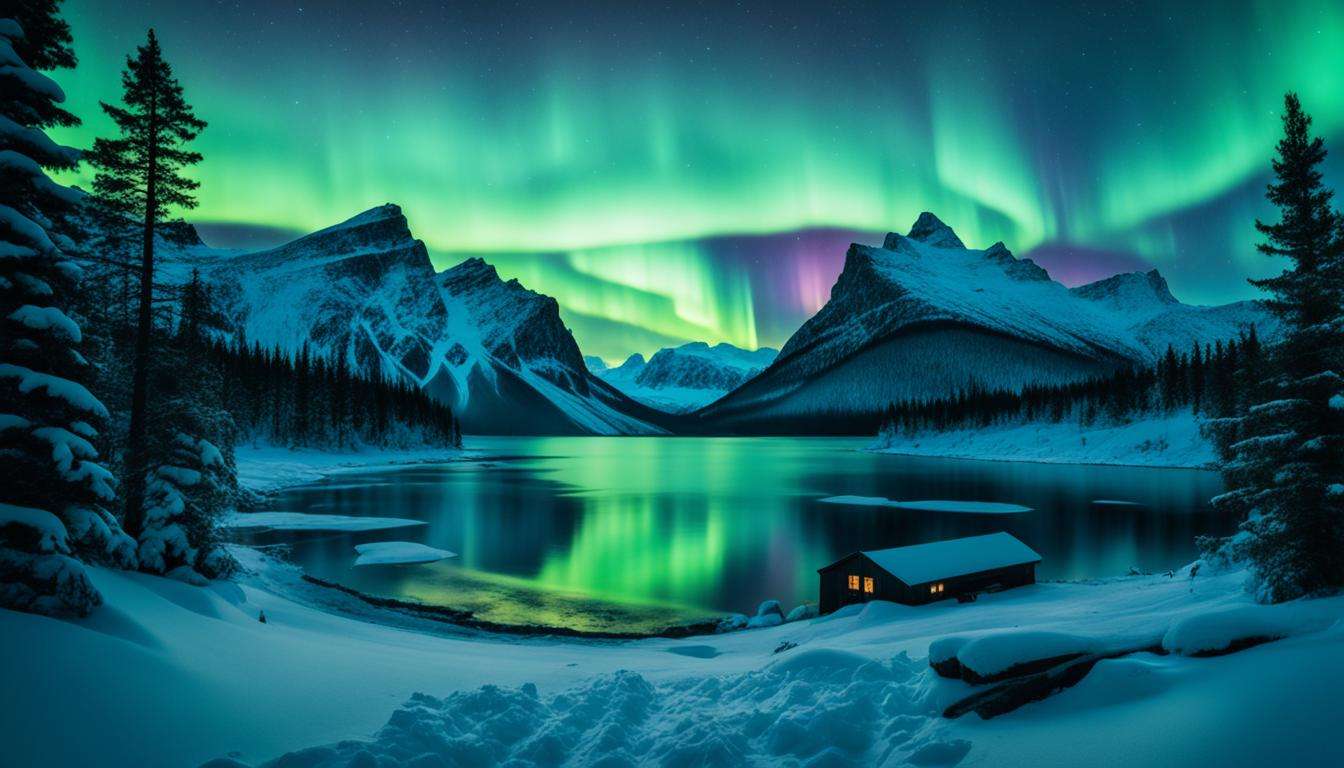
In this section, we will guide you to the most incredible locations for the aurora borealis. From remote Arctic areas to easily reachable spots, we’ll show you where to witness this natural wonder.
Are you excited to see the aurora borealis’ mesmerizing dance? Get ready to see vibrant colors move across the night sky. The magic of the northern lights brings colors from deep greens to shining blues and purples. It’s a sight you’ll never forget.
We’ve picked the best spots to give you the best view of the aurora’s light show. Whether you love taking photos or you’re an adventurer, these spots are perfect. They offer great views to witness the beauty of the aurora borealis.
So, where are these amazing spots, and how can you plan your trip? Let us show you the way to the top spots to see the dazzling northern lights spectacle.
Key Takeaways:
- Witness the breathtaking beauty of the aurora borealis in incredible locations around the world.
- From remote Arctic regions to accessible destinations, there are spots for everyone to experience the magic of the northern lights.
- Prepare to be amazed by the vibrant colors and the enigmatic dance of the aurora borealis.
- Optimize your chances of capturing the aurora by visiting carefully chosen vantage points.
- Embrace the beauty of the northern lights and create unforgettable memories.
Aurora Hunting: How to Find and Photograph the Northern Lights
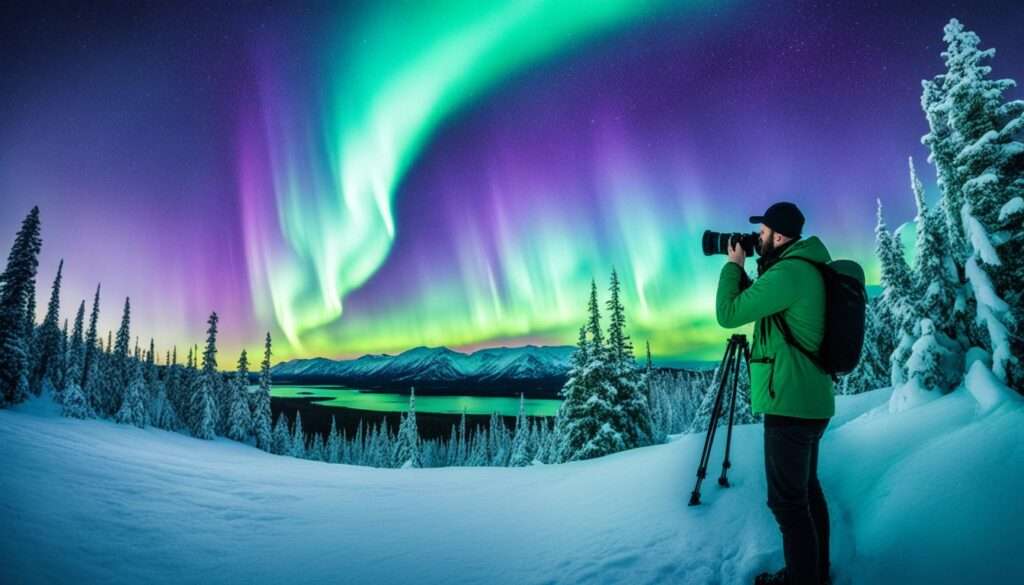
Are you ready to seek out the northern lights? We’ll give you tips on hunting and photographing this stunning natural display. You’ll learn to check forecasts, use your camera to take great pictures, and more.
Understanding Aurora Forecasts
You need to plan carefully for aurora hunting. Check websites that give real-time updates on aurora activity. They consider solar activity, cloud cover, and light pollution. Pick a night when the sky is dark and clear for the best views.
Scouting for the Perfect Location
Finding the right spot is crucial. Look for places with little light pollution, like remote areas or national parks. Choose spots based on how easy they are to get to, safety, and where to stay. Going farther north boosts your chance of seeing the lights.
Pro Tip: Joining an aurora tour with experienced guides can significantly increase your chances of spotting the northern lights. They will take you to the best locations and provide valuable insights and assistance in capturing incredible photographs.
Mastering Your Camera Settings
Using the right camera settings is vital for capturing the northern lights. Set your camera to manual mode. Here’s how to adjust the settings:
- ISO: Set your ISO to a high value (around 800-3200) to capture the faint light of the aurora.
- Aperture: Use a wide aperture (f/2.8 or lower) to gather as much light as possible.
- Shutter Speed: Experiment with long exposures (10-30 seconds) to capture the movement and vibrant colors of the aurora.

Capturing the Enigmatic Dance
With your location and camera ready, start capturing the lights. Be patient as the aurora’s appearance is unpredictable. Look for things like mountains or trees to make your photos more interesting.
Pro Tip: Use a remote shutter release or the camera’s self-timer to avoid camera shake when pressing the shutter button.
Try different angles and include silhouettes in your photos. But, remember to take some time to just enjoy the beauty in front of you.
| Tips for Aurora Hunting and Photography | Astrophotography Tips |
|---|---|
| 1. Check aurora forecasts for optimal viewing conditions. | 1. Use a wide-angle lens to capture the expansive night sky. |
| 2. Seek out locations with minimal light pollution. | 2. Set your camera to manual mode for better control. |
| 3. Join an aurora tour for expert guidance. | 3. Experiment with long exposures to capture the movement of the aurora. |
| 4. Set your camera to a high ISO for capturing faint light. | 4. Use a sturdy tripod to keep your camera steady during long exposures. |
| 5. Look for interesting foreground elements to add depth to your photos. | 5. Capture the mesmerizing dance of the aurora with patience and creativity. |
Best Locations for Aurora: Where to Witness the Northern Lights
Are you ready to see the northern lights? We’re about to show you top spots on Earth to see this amazing natural light show. Locations like Alaska, Norway, and Finland are known for their stunning views. They make perfect places to see the aurora borealis.
Alaska: Nature’s Wonderland
Alaska’s natural beauty is unmatched, especially for seeing the northern lights. Cities like Fairbanks, Anchorage, and the Denali National Park offer great views. You’ll see the auroras light up the dark skies. Enjoy Alaska’s quiet and the beauty of the light show.
Norway: The Land of the Midnight Sun
Norway is a dream for aurora watchers. Tromsø, above the Arctic Circle, is a top spot. You’ll see the northern lights over fjords and mountains. Get ready for a cozy, breathtaking experience in Norway.
Finland: Lapland’s Enchanting Aurora
Finland’s Lapland is perfect for seeing the aurora. In Rovaniemi, Santa’s official home, you can meet Santa Claus. This town is also ideal for watching the northern lights. Imagine yourself in the Arctic, under the auroras. It’s truly magical.
Picking the right time to see the aurora is important. You have the best chance in winter, when nights are long. Checking aurora forecasts can also help your chances. So, plan your trip carefully for an amazing experience.
Ready to see the northern lights? Don’t forget your camera and warm clothes. Whether you visit Alaska, Norway, or Finland, you’re in for a treat. These places are perfect for a once-in-a-lifetime aurora adventure.
Essential Camera Equipment for Capturing the Auroras
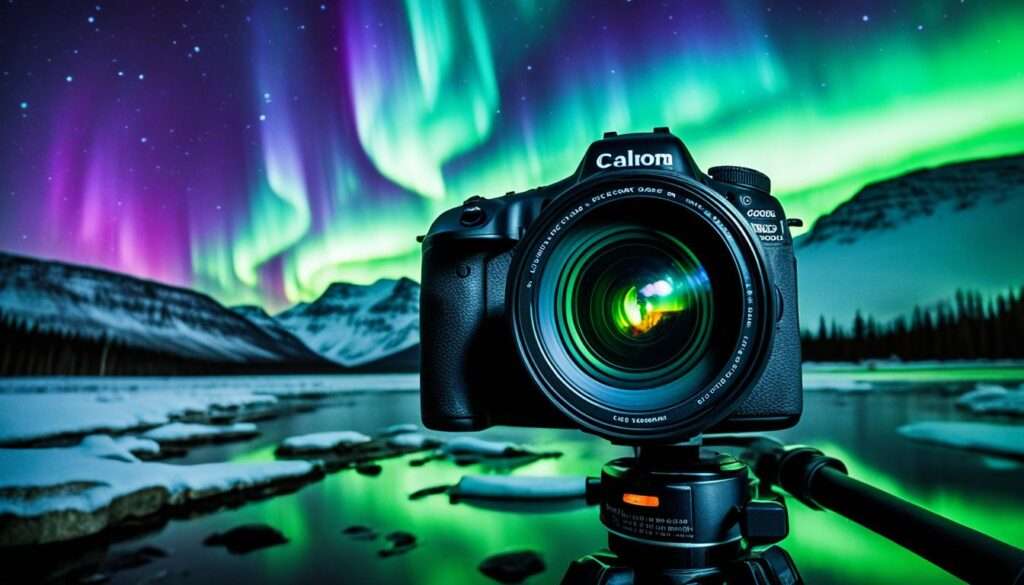
Having the right camera gear is key to capturing the beauty of the aurora borealis. The right equipment allows you to take amazing photos of these celestial wonders. We’ll show you what gear and settings you need for the best photos.
1. Sturdy Tripod
A sturdy tripod is vital for aurora photography. It helps steady your camera for clear, sharp images. Look for a tripod that is light, strong, and easy to adjust. This makes taking the perfect shot easier, even in harsh weather.
2. Wide-Angle Lens
You’ll need a wide-angle lens to capture the full sky and its amazing colors. Choose a lens with a focal length of 14mm to 24mm. This allows you to see the auroras and their surroundings in one photo. A lens with a fast aperture captures more light and detail.
3. Remote Shutter Release
A remote shutter release is a must. It prevents camera shake when you take pictures. This device lets you snap photos without touching your camera. It ensures your images are clear and focused.
4. Extra Batteries and Memory Cards
Photographing the auroras can take a long time. Make sure you have extra batteries and memory cards. Cold weather can quickly drain your camera’s battery. Having spares ensures you won’t miss any shots.
5. Camera Settings for Long Exposures
For the auroras, use manual mode. Set your ISO between 800 and 1600 for bright, clear photos. Choose a wide aperture like f/2.8 to let in more light. Shutter speeds of 10 to 30 seconds are best to capture the auroras’ movements.
With the right equipment and settings, you’re prepared to photograph the aurora borealis. Don’t forget to stay warm, bring extra clothes, and be ready for a night of shooting under the stars. Prepare to take stunning photos that will amaze all who see them.

Editing Aurora Photos: Enhance the Beauty of the Northern Lights
After you’ve taken amazing photos of the aurora borealis, it’s time to make them even more stunning. By editing your photos, you can highlight their colors, adjust the contrast, and make them stand out.
Popular editing software like Adobe Lightroom and Photoshop are great for this. They allow you to bring out the vibrant colors and tiny details of the aurora.
The first step is to check the exposure of your photos. The northern lights can be very bright or quite dim. You need to balance light and shadow to keep the image looking real and beautiful.
Then, think about the white balance. The aurora can have shades from bright green to deep purple. Adjusting the white balance shows these colors better and makes your photos more impressive.
Increasing contrast is also key. It makes details sharper and colors more prominent. This can really enhance your aurora photos.
When you edit, aim to bring out the best in the natural image. But it’s also about adding your own artistic flair. Try different editing styles but keep the photo true to the northern lights.
Editing should make the aurora’s beauty shine even brighter. The goal is to capture the awe and wonder of seeing the lights in person.
After editing, save your photos in high quality. This lets you print them or share them online. Then, everyone can see the true beauty of the northern lights through your photos.
Tips for Editing Aurora Photos
- Start with subtle adjustments and gradually build up the editing process.
- Experiment with different filters and presets to achieve a unique look.
- Use selective editing techniques to highlight specific areas of your photos.
- Consider cropping and framing to emphasize the central elements of the aurora.
- Don’t be afraid to try different styles and artistic interpretations to add your personal touch.
Following these photo editing tips will take your aurora pictures to the next level. Editing lets you show the stunning beauty of the northern lights to everyone.
| Software | Features |
|---|---|
| Adobe Lightroom | Batch editing, color adjustments, selective editing |
| Adobe Photoshop | Advanced editing tools, layers, masks, and filters |
| ON1 Photo RAW | Non-destructive editing, customizable presets, masking tools |
Conclusion
We’ve explored the top places worldwide to see the aurora borealis. From the Arctic to more reachable spots, you now know the best places to witness this stunning sky show.
Learning how to hunt for the aurora, the best camera tricks, and where to go, you can take amazing photos. You’ll make memories that will last a lifetime. We’ve covered everything you need, from forecasting the auroras to picking the right camera equipment.
Now is the time to plan your trip and see the aurora borealis with your own eyes. Maybe you’ll catch it in Alaska’s bright skies, Norway’s magical land, or Finland’s quiet wilderness. The northern lights will amaze you, and you’ll capture its beauty in your photos. The aurora borealis is waiting to show you its magical light display.


Leave a Reply